DIY Boho Fall Wreath
05 October
Wreaths are a decorating staple for almost any holiday, don't you agree?
They don't have to be the traditional round shape or evergreen or grapevine wreaths either.
Wreaths made with embroidery hoops are pretty popular right now. I love the simplicity of using the embroidery hoop and then embellishing it just a little bit... and I'm all about repurposing!
So, I decided to try making my own repurposed embroidery hoop wreath but with a boho spin.
DIY Boho Fall Wreath
This post contains some affiliate links for your convenience (which means if you make a purchase after clicking a link I will earn a small commission which helps keep my blog up and running but it won't cost you a penny more)! Click here to read my full disclosure policy.
Supplies Needed:
- Embroidery hoop
- Wooden beads
- Jute Twine (or cotton string or embroidery floss)
- Embellishments of your choice (I used faux pumpkins, fall leaves, and a turkey feather!)
- Hot glue gun and glue sticks
- Florist's wire (optional)
Step one - add jute and beads
The embroidery hoop I chose is 12" in diameter. You could use larger or smaller depending on where you want to put it.
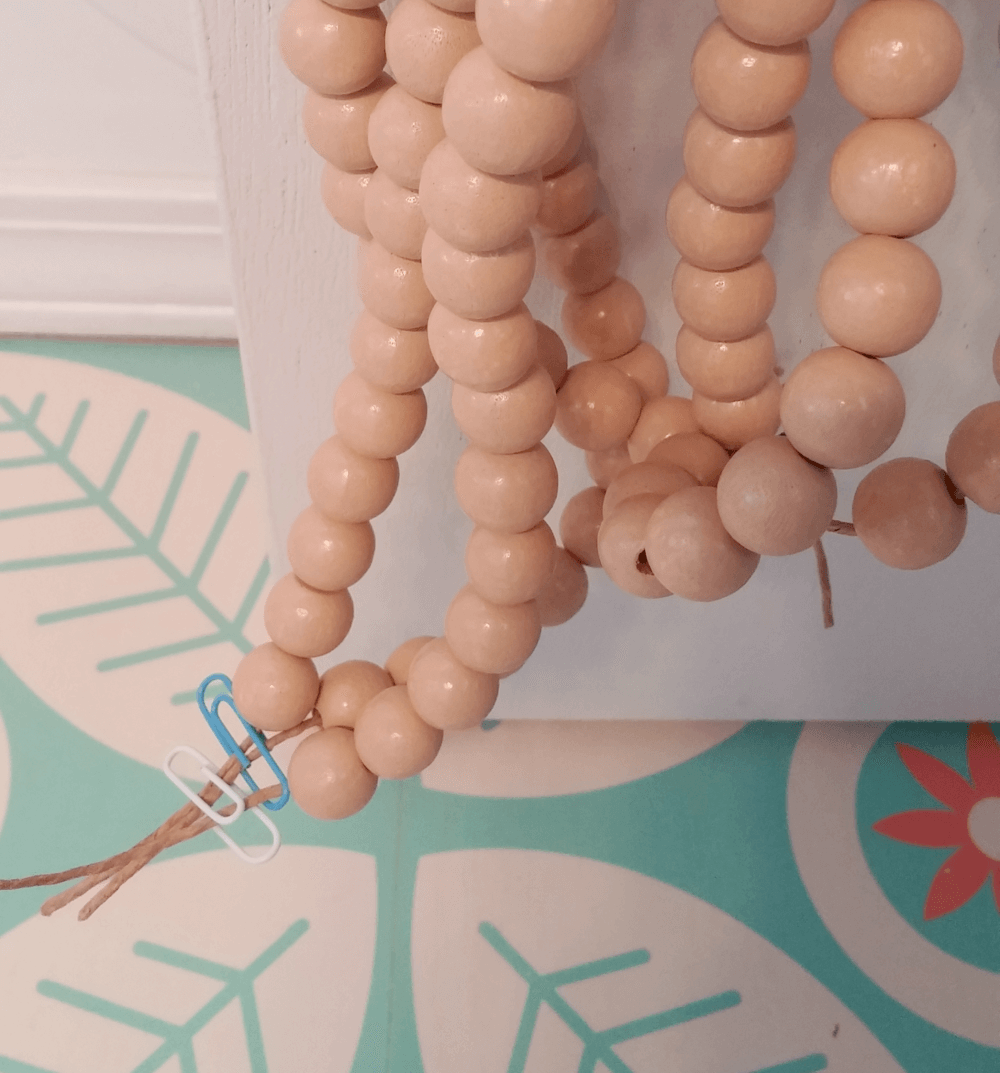
Begin by tightening up the hoop so it won't come apart and then start tying lengths of the twine along the bottom of the hoop. Make these as long as you think you want your beads to hang down.
I put about 29 beads on the center lengths of twine and then I gradually made them shorter toward the outside by using one less bead on each of the outside lengths of twine.
29 on the center two
28 on the two on either side of those
27 on the next two, etc.
When you get ready to tie the ends, make sure you push the beads all the way up until they are touching the embroidery hoop so you aren't left with an uneven gap.
I used dabs of hot glue to keep the knots from coming undone on both the top and bottom knots.
TIP: push the knots toward the back of the hoop so they won't show later.
Step two - embellish
I also added a turkey feather and a leftover bead to cover the gap between the pumpkins.
Imagine the hoop painted red or green with a Christmas floral spray 😍
If you enjoyed this idea, you might also like these:
DIY Shamrock Wreath for St. Patrick's Day (made with Styrofoam hearts)
DIY Anthropologie Hearth Wreath Dupe (made with a heart shaped grapevine wreath)
DIY Cookie Cutter Wreath (made with cookie cutters)
Restyled Junk Wheel Wreath (made with a wheel)
How to Make a Garden Hose Wreath (made with a hose)
I hope you enjoyed this post and got some ideas. If you did, I'd love it if you would share!
Upcycled Picture Frame Wreath (made with a square picture frame)
Posted by: Tania | Little Vintage Cottage
at 05 October
Tag:
fall


.jpg)
.jpg)


.jpg)
.jpg)
.jpg)

.jpg)


That is cute Tania! You can do so much with embroidery hoops! I love your new spin on it using the beads! Very cool. Pinned
ReplyDeleteLove the natural look of this!
ReplyDeleteThank you!
ReplyDeleteThanks florence and thanks for pinning too!
ReplyDeleteThis is adorable Tania! Pinned to my wreath board
ReplyDeleteThanks Marie!!
ReplyDeleteTania
Very cute! Love the boho twist. Visiting from Dagmar's House link party.
ReplyDeleteSo simple and yet full of that boho charm with feathers and beads! Perfect!
ReplyDeleteGreat tutorial, this looks fabulous! I love how it looks especially hanging over the chair. Thanks for sharing at Vintage Charm! xo Kathleen|Our Hopeful Home
ReplyDeleteThank you Kathleen!
ReplyDeleteTania
Thank you so much Mary!!
ReplyDeleteTania
I love Dagmar's party, thanks so much for visiting!
ReplyDeleteTania