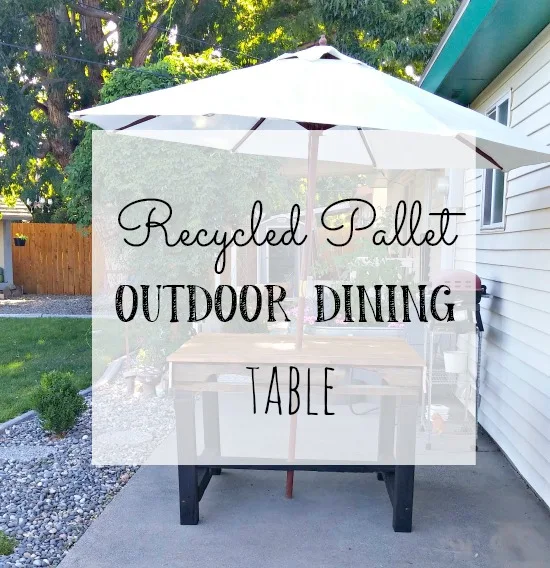
Recycled Pallet Outdoor Dining Table
09 July
I just love all the cool things you can build with a simple pallet don't you? I decided to make a pallet dining table for my patio after seeing a really cool one at Kleinworthco.com.
It looked pretty simple too and I already had a pallet and some 4 x 4 posts to use for the legs. I still had to make a run to Home Depot though for a few things... brackets, another 4 x 4, some 6" screws, and some stain.
Then I got started! I made the base on the 4th of July and then finished up the rest this weekend.
I pretty much followed Gina's directions on her blog but had to do a little improvising here and there. My pallet wasn't nearly as big as theirs and it turns out I should have gotten one more 4 x 4... but I didn't want to go back to the store so I improvised!
Here is how my process went.
I had the 4 x 4 I bought cut at Home Depot but I also used one I had at home so I had to cut that one.
Then I attached the legs to the brace pieces.
I used the 6" screws to attach these pieces.
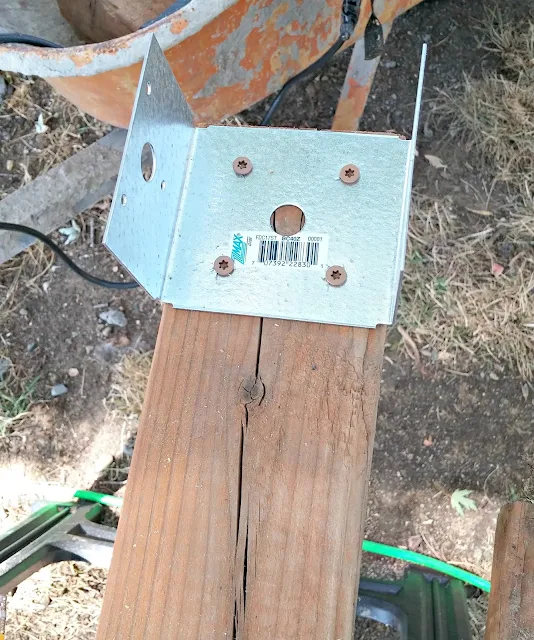
These are the fence post brackets I used for the next part.
I used 6 of them.
And I used them to attach the top braces and the center brace on the bottom. A couple more 2 x 4's went across the top for even more stabilizing.
Then I crossed my fingers and test fit it to make sure it fits the pallet. It did! Yay!
Sanded it all down and started staining!
I used black stain just like Gina did, I thought it looked beautiful.
Now it was time to put the pallet on. I did that by laying the table base upside down on the pallet and screwing it down where ever I could.
I wanted my table to have a hole for my umbrella in the center so to make that happen I needed to remove a portion of the 2 x 4 that runs right down the center of the pallet.
Trusty Saws-all to the rescue!
I just cut it right out of the middle!
Since my pallet didn't have a solid top, I bought wood to make a top. The wood I bought is called "common board" and I had it cut to the lengths I needed at Home Depot as well.
I just screwed the boards right down into the pallet top wood.
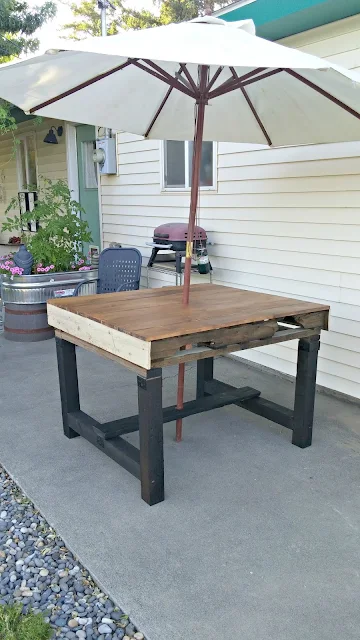
I didn't like how the ends looked so I added a couple of fence board pieces I had on both ends. I think it gives it more of a table look instead of just a pallet sitting on top of some 4 x 4's!
Now that the top was on it was back to making the umbrella hole. I used my hole saw kit to drill the hole.
Through the top and the bottom center brace.
Once that was done it was time to pick the stain color for the top. I tested three different stains on a scrap piece of the common board so I could see how they would take to that kind of wood.
I chose the Colonial Pine. One coat of stain and 2 coats of Poly and I love how it turned out!
The umbrella ended up a tiny bit crooked but I don't think that's a big deal.
I'm also not really diggin' the old fence boards on the sides... the color anyway... I think they need to be stained either the black or the top color, what do you think?
I'm so excited to have this table, I think it will last for years... much longer than many you can buy!
Next weekend I plan to make a couple of benches to match it. It turned out a little taller than a standard dining table because I didn't take the 2 x 4 top braces into account when I was measuring. It's not quite pub height either so benches are in order.
Then maybe I can find a couple of counter height stools at a garage sale or thrift shop for additional seating at the ends.
It would also look nice to have a rug of some kind underneath it, to anchor it a bit. I'm thinking one of those plastic woven outdoor rugs since this area of the patio isn't covered. I bet I can find one on sale soon since I'm already starting to see fall and Christmas being put out at the stores!!
Posted by: Tania | Little Vintage Cottage
at 09 July
Tag:
DIY & Crafts


