DIY Dolly Dingle Halloween Witches
12 October
Today I have a fun little DIY to share with you!
Years ago, I made some cute paper doll witch ornaments for Halloween, and to this day they are one of my favorites! Each Halloween they make me smile when I unpack my decorations and rediscover them.
These are not your typical witches though, they are cute and sweet and a cross between a witch, a mermaid, and a fairy! Can you imagine it?
DIY Paper Doll Witch Ornaments
This post contains some affiliate links for your convenience (which means if you make a purchase after clicking a link I will earn a small commission which helps keep my blog up and running but it won't cost you a penny more)! As an Amazon Associate, I earn from qualifying purchases. Click here to read my full disclosure policy.
Here is what you'll need to make these cuties.
Supplies
- Dolly Dingle Paper Doll Book or the Scan I provided HERE
- Black Cardstock
- Black Glitter
- Scissors and an X-acto Knife
- Glue (I use Aleene's Tacky Glue)
- Orange Bump Chenille Pipe Cleaners (you could use other colors too)
- Assorted Black Buttons
- Black Sharpie Marker
- Various embellishments (seasonal ribbons, rick-rack trim, buttons, rhinestones, Halloween stickers, etc.)
I have had this Dolly Dingle Paper Doll Book for a long time, I think I got it at a garage sale.
I didn't want to cut the paper dolls out so I copied the pages I wanted onto cardstock.
I shared a printable Dolly for you in the supply list above.
If you are printing Dolly from the scan I provided, make sure to print her on cardstock paper which is heavier weight than regular printer paper (you can also print on regular paper and glue that to cardstock before cutting her out).
If you don't have a printer you can have prints made at Kinkos or a FedEx print store very inexpensively.
Step One: Cut out Dolly
Cut out the paper doll and cut her off at the legs. Then taper the edges of her slip a little bit.
Step Two - Color the clothes
Use a black Sharpie marker and fill in her top. You can use any color you like but I thought black was appropriate for a witch!
Here is Highland Mary with her slip colored in.
Step Three - Make her Skirt
I designed this to be a skirt that was tight at the ankles but it ended up looking more like a mermaid tail!
Lay her down on a piece of black cardstock and arrange the buttons in a curved tail shape (don't glue them down just yet).
You'll start with a very large button (about the size of her head). It should cover most of her skirt, and then each button making up her skirt/tail will be a little smaller. They don't have to match, in fact, I think it's cuter if they don't!
Once you have them arranged how you want, trace around them with a pencil.
Cut this out and then glue it over the lower half of Dolly.
Now, glue on the buttons. Mary's tail was added under her slip. Next, we'll make the little hats.
Step Four - Make the Hats
Draw a witch hat shape on black cardstock and cut it out. You can kind of draw around her head so you get it the right size. You'll need the brim wide enough so that you can cut a slit for her head to slide into.
Don't fret too much about this, it can be just a straight up and down witch's hat and it will still be adorable!
Hold her head up to the hat again after you've cut it out and mark the sides of her head. Cut a curved slit with an X-acto knife from one mark to the other so the hat will slide over her head.
Put her hat on and add a couple of dabs of glue to hold it on.
Step Five - Embellish
Rub some glue over all the buttons (a generous amount) and then sprinkle glitter over the glue. Do the same with Mary's skirt.
Now we'll create her wings ('cause she's a witch-fairy-mermaid!) 😀
Bend a bump chenille pipe cleaner into a bow shape. You'll want the large part of the bumps to be her wings. Just twist the center a little bit to secure it and then glue it to her back.
I added a row of black self-adhesive rhinestones along Dolly's dress.
I used some small orange rick-rack along her hat and added a button.
I have some old Halloween cupcake picks in my stash so I chose a black cat for Dolly.
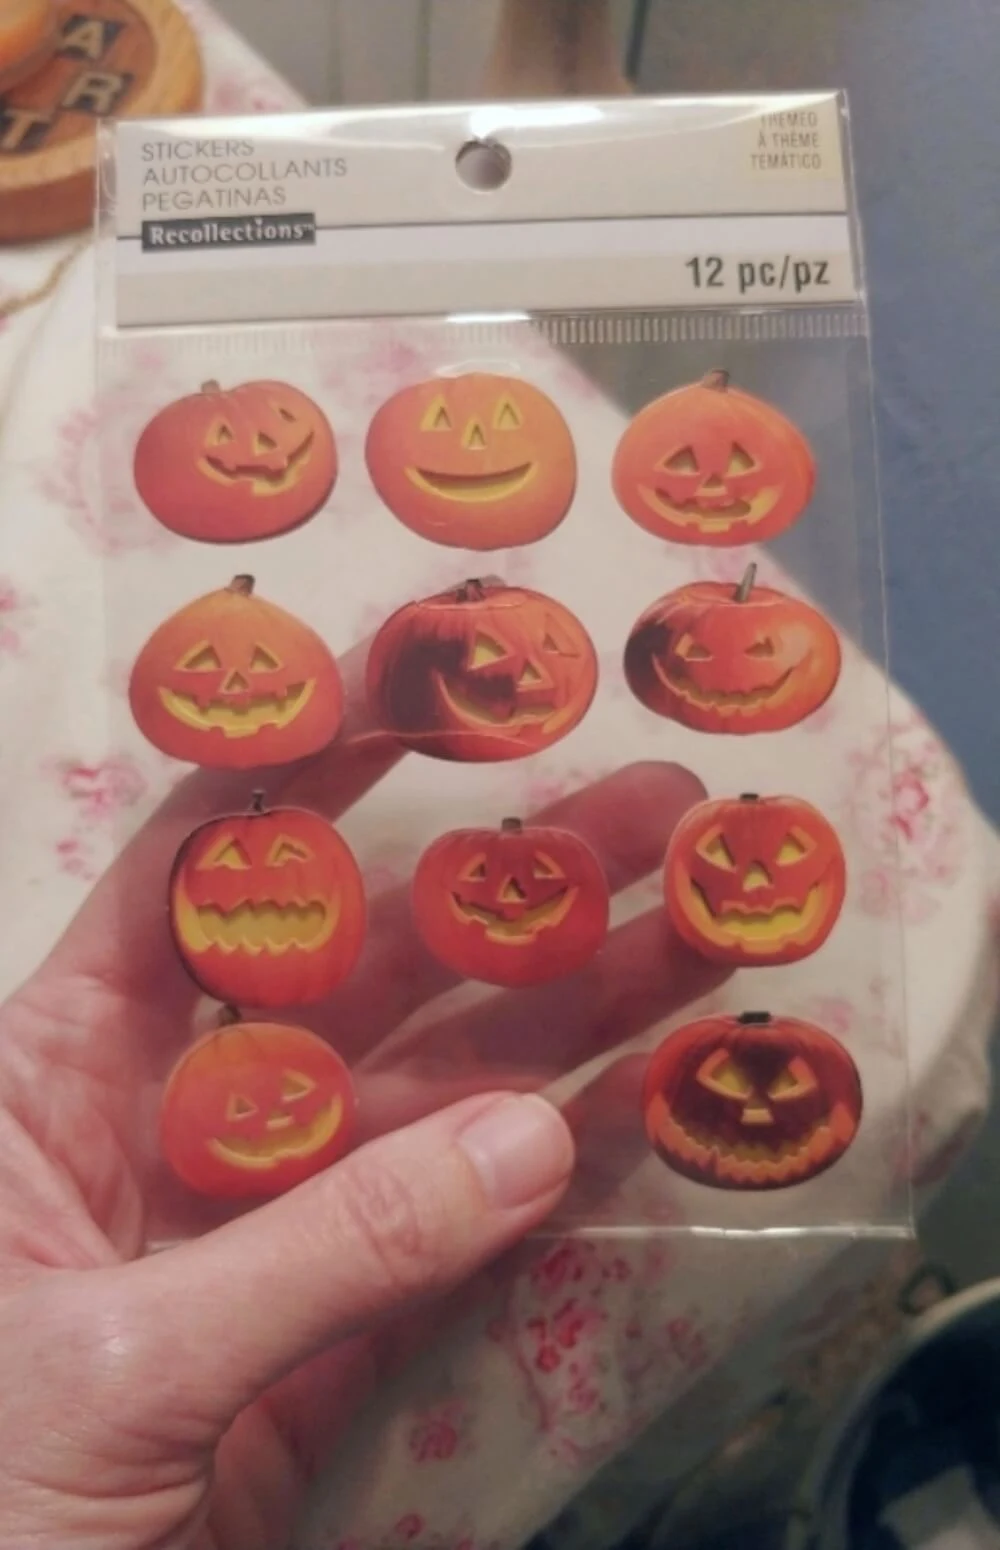
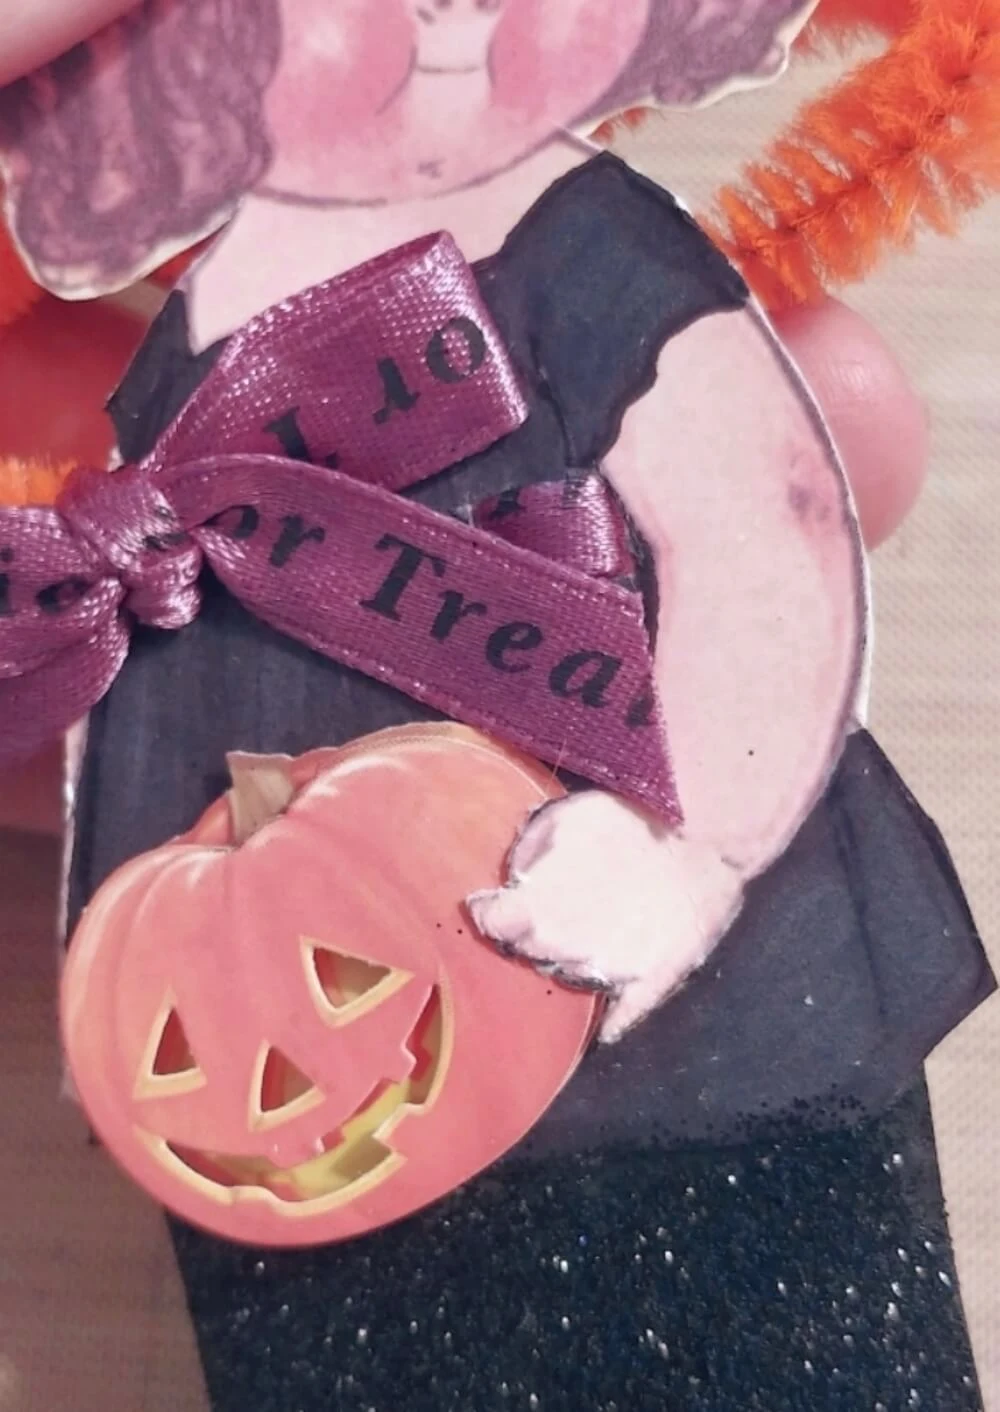
And I used one of these scrapbook pumpkin stickers for Highland Mary!
I used an X-acto knife and carefully cut around her hand so I could tuck the pumpkin under her hand like she was holding it!
Step Six - Add a Hanger
What do you think? They look really cute on a Halloween tree!
If you enjoyed this project, I'd love it if you would share it!
PIN ME!!
Posted by: Tania | Little Vintage Cottage
at 12 October
Tag:
fall


Comments by Blogger
Post a Comment
I love your comments! If you want to be notified when I respond to you, check the "Notify Me" button under your comment.