DIY Cookie Cutter Wreath - Twelve Days of Christmas Ideas
19 November
Welcome to Day 1 of the Fourth Annual 12 Days of Christmas Series!
I have teamed up with 50 plus bloggers to bring you oodles of DIY Ideas and Recipes to make your holiday season merrier. There are 12 different posts in the series and we have spread them out over a four week period with three posts per week. Now is the time to subscribe!
GO HERE for the complete list of dates and topics plus a collection of our most popular holiday ideas including ornaments, games, recipes and more from all 50 plus talented bloggers!
It's Day 1 and we are sharing DIY Wreath Ideas!
I have some standard Christmas wreaths... the typical evergreen wreath, a red ribbon wreath, a jingle bell wreath, the kinds you see all over. So I wanted to make a wreath that is a little more out of the ordinary, not something you see every day, and certainly not something you can buy in a store!
I created a fun wreath from a bag of cookie cutters I found at the thrift store!

This post contains some affiliate links for your convenience (which means if you make a purchase after clicking a link I will earn a small commission which helps keep my blog up and running but it won't cost you a penny more)! Click here to read my full disclosure policy.
Supplies Needed
- Christmas cookie cutters
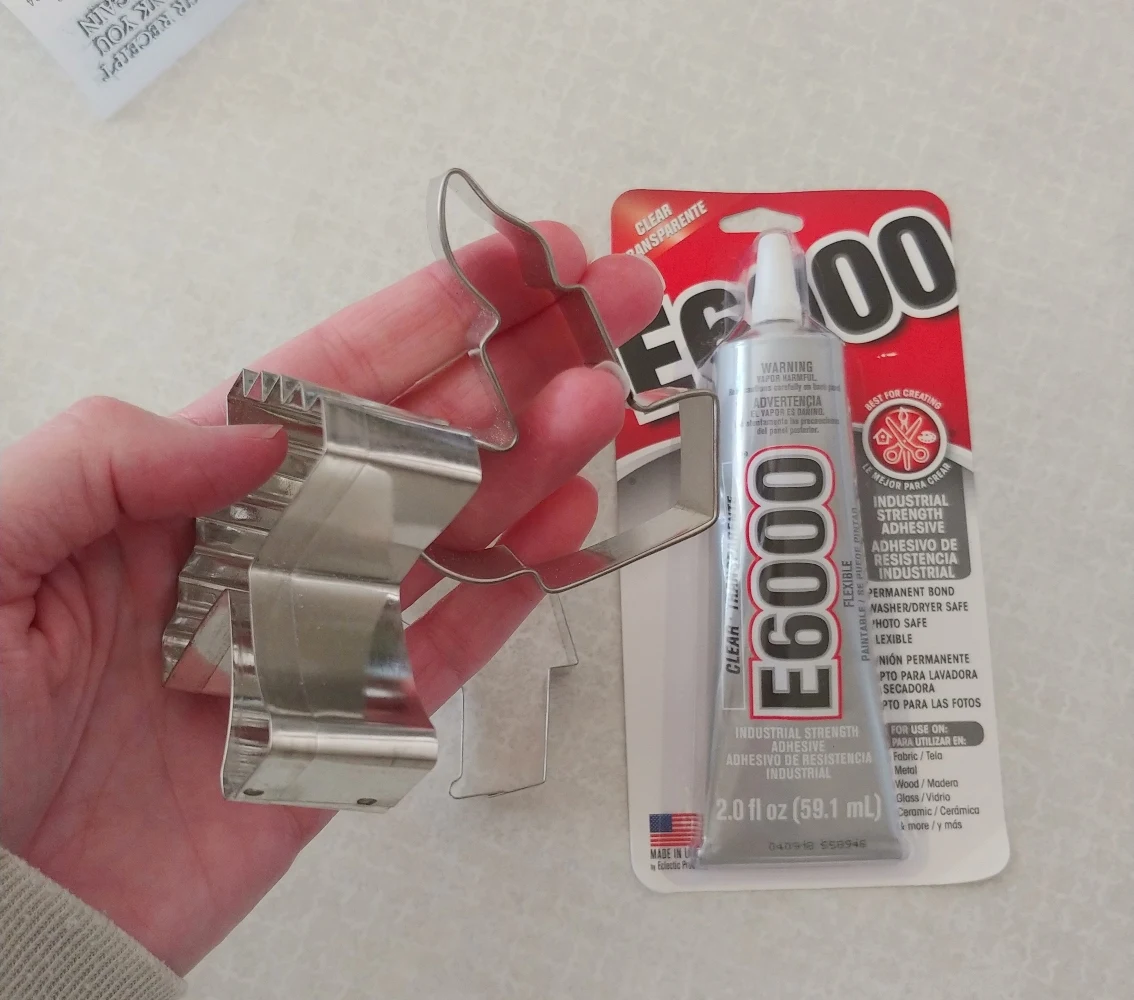
- E6000 glue
- Craft glue
- Teflon craft mat
- Spray paint
- Scrapbook papers
- Ribbon
As I mentioned I found a bag of cookie cutters at one of my local thrift shops.
To make your own cookie cutter wreath, you'll want to lay out your design and get the cookie cutters positioned where you want them first.
Then use the E6000 glue and put some glue everywhere that the cookie cutters touch. I would definitely recommend using a Teflon craft mat (see the supplies list) because the glue will drip down a little as it is drying and you'll end up with your cookie cutters stuck to whatever you have them lying on... but they won't stick to the Teflon mat!
Once the wreath is completely dry then you can spray it with the color of your choice (or leave it natural)! You can see that I added one cookie cutter that is a bit different than the others, it's a solid moon shaped cutter that I had in my stash.
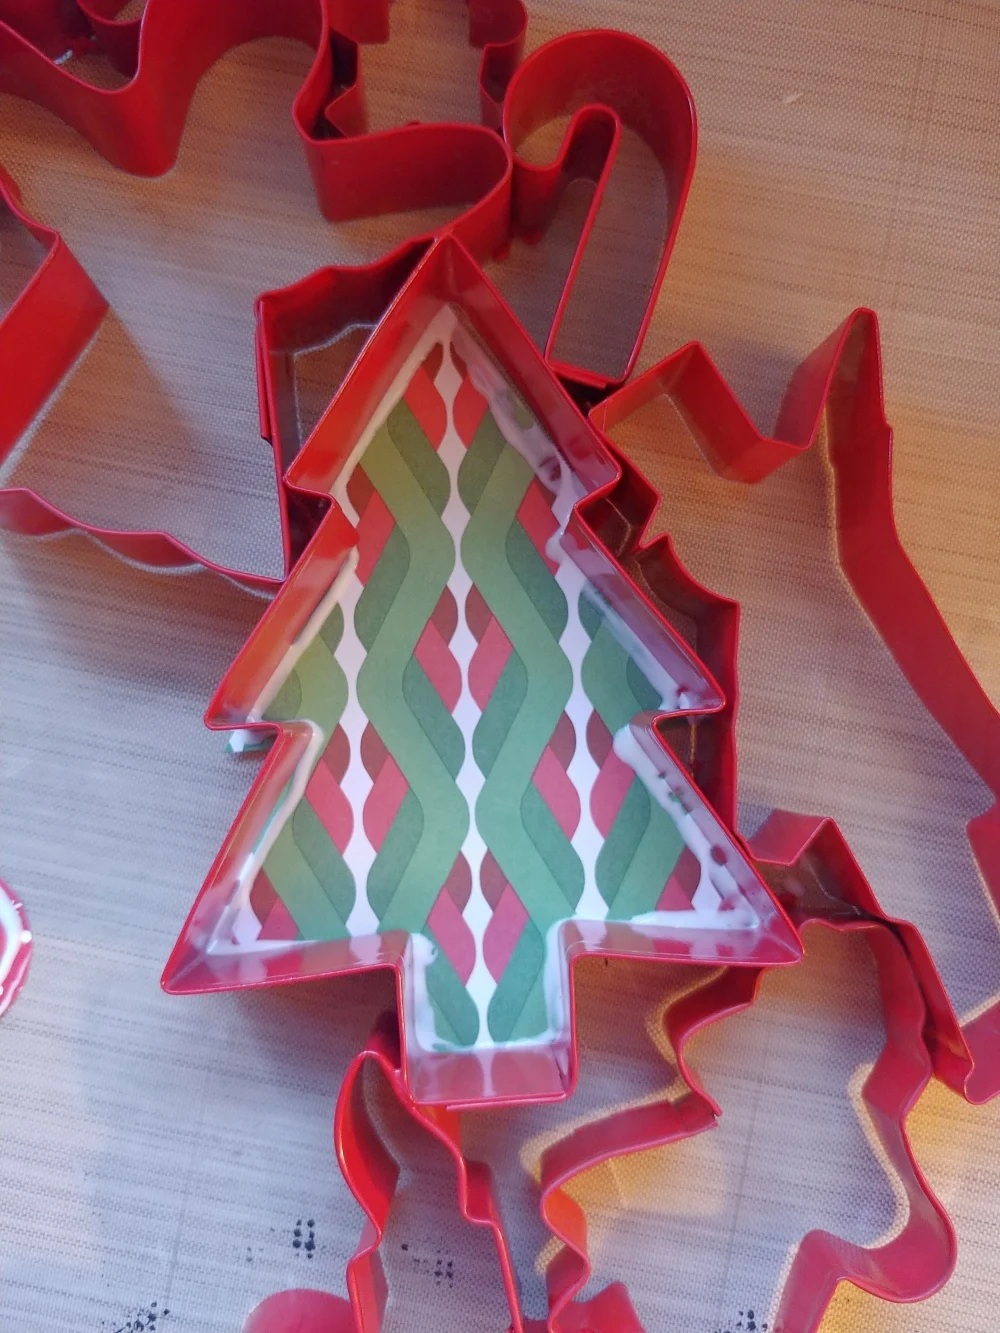
Trace around a few of the cookie cutters and cut these out of various Christmas scrapbook papers.
Put a line of glue around the edge.
Then position them under the matching cookie cutter and press it down into the glue. Put some books on top and allow them to dry.
I chose to add red glitter to the solid moon cookie cutter for some added interest.
Add a ribbon to hang the wreath and a ribbon bow, I put mine on the side where my wreath was a little lopsided to even it out.
I was a little worried how this would turn out at first but I really like it!
You might also like the wreath I made for last year's 12 Days of Christmas blog hop!
PIN ME!
Posted by: Tania | Little Vintage Cottage
at 19 November
Tag:
holiday seasonal


Well… I love this so much! I just happen to have the same set of cookie cutters that I bought when I first got married. That was 45 years ago…lol! I don’t use them any longer because I’ve gotten many more since then and they kind of got put on the back burner and were never brought back to life again. I see an absolute wonderful use for them now because I just didn’t have the heart to get rid of them. I’m glad I didn’t! What a gorgeous little wreath you’ve made! I think if I remember correctly, I even have the moon!
ReplyDeleteAww, I'm so glad you like it! I'd love to see yours when you get it complete!
Delete