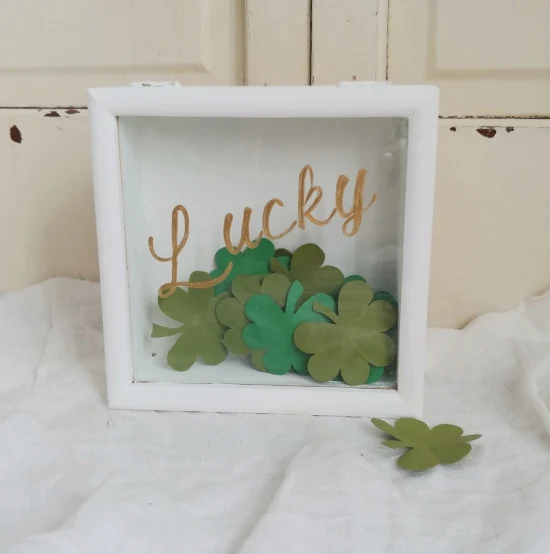
DIY St. Patrick's Day Shadow Box
21 February
Hi there! I'm back with another St. Patrick's Day DIY project!
Check out some other St. Patty's Day projects here:
Today's project was inspired by THIS cute shadow box by Kati at House Full of Handmade.
I made my own version with a shadow box I already had. In fact, we can consider this project another installment of Operation Garage Cleanout! I have had two of these in a bin in the garage for years!
DIY St. Patrick's Day Shadow Box
This post contains some affiliate links for your convenience (which means if you make a purchase after clicking a link I will earn a small commission which helps keep my blog up and running but it won't cost you a penny more)! Click here to read my full disclosure policy.
Here is what you'll need to make one.
Supplies Needed
- Small Shadow Box (or build one like Kati did)
- White and Gold Craft Paint
- Green Scrapbook Paper (I used 2 colors of green)
- Clover Paper Punch (or improvise with a heart punch)
- Paper Creasing Tool (optional)
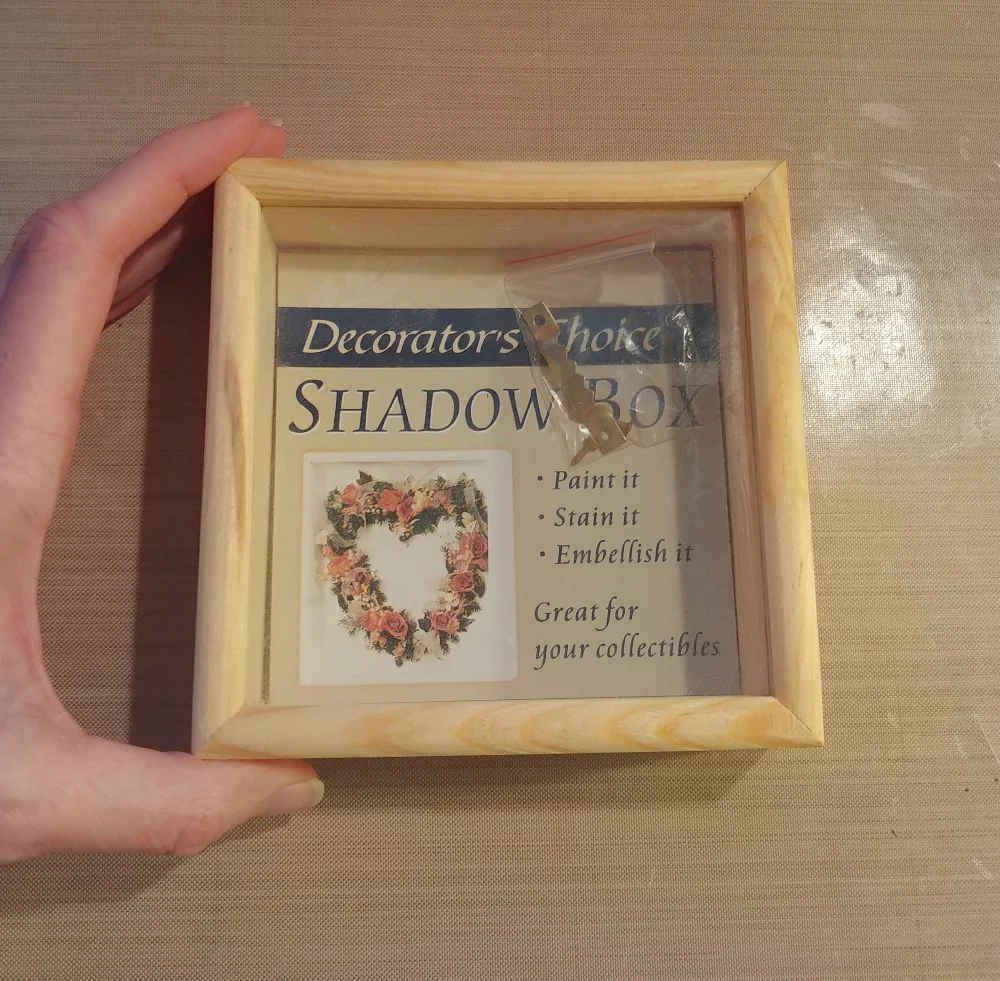
This is the little shadow box I started with. It stands on its own or comes with a sawtooth hanger to hang it, and the lid has a little magnet to keep it securely closed.
Honestly, I have had this for so long I don't know where I bought it or if they even make them like this anymore.
Step 1 - Paint the shadow box.
Paint the whole thing in the color of your choice. I think green, gold, or white is appropriate for St. Patrick's Day.
Step 2 - Add the word to the glass.
You can paint it onto the glass like I'm going to show you here, or you can make a vinyl one with a Cricut or Silhouette if you have one.
To paint it on the glass, print the word "Lucky" in a font you like and in the correct size to fit the glass of your shadow box and tape it to the inside of the glass.
Step 3 - Cut out the clover shadow box filler.
I don't have a clover paper punch so I improvised just like I did with the Upcycled Tin Can St. Patrick's Day Hat. I used that method to make a pattern and cut out 12 clover shapes.
I chose to trace the pattern onto the paper and cut them out rather than glue the hearts together like I did before. I thought it would keep them from getting hooked on each other inside the shadow box.
I used my paper creasing tool to get a little more 3D look so they have a little more dimension in the box. (You can use the side of a ruler and bend the clover that way too).
Then toss them all into your shadow box!
I put ONE 4-leaf clover in the box so it's like a game... try to find the 4-leaf clover!
Posted by: Tania | Little Vintage Cottage
at 21 February
Tag:
holiday seasonal


