Vintage Dish Succulent Planter - 7 Days of Thrift Shop Flips - Day Four
20 August
I wasn't too sure about today's project. It's almost too simple but as I've said before sometimes simple is good... it feels good to get some small wins in sometimes am I right?! 😁
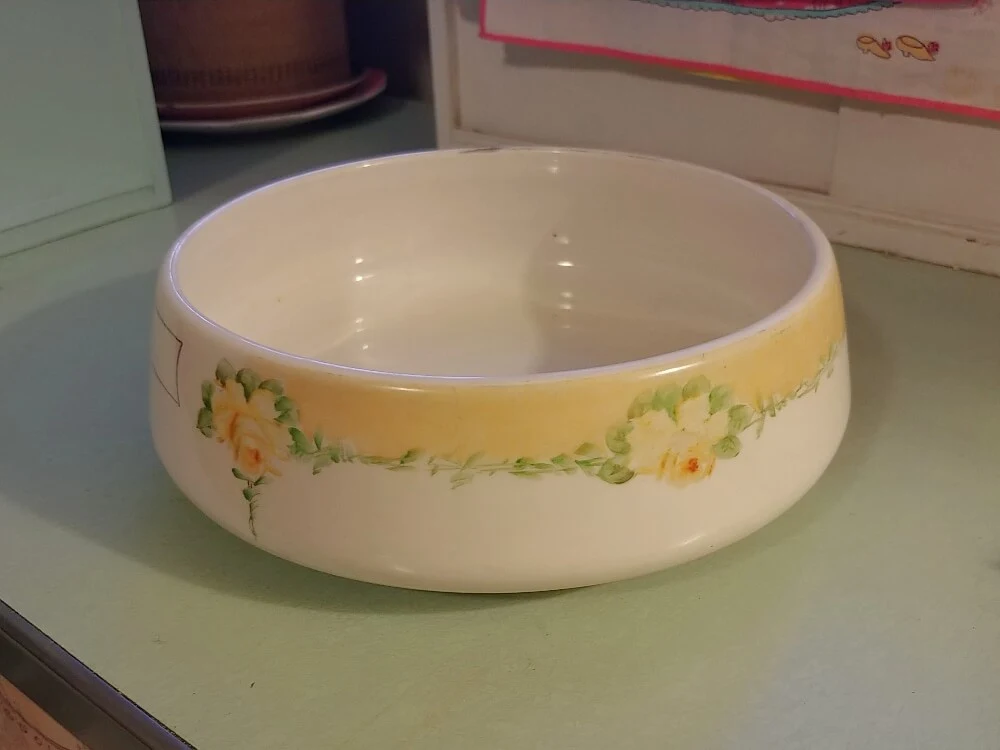
I picked up this dish a month or so ago because I thought it was so pretty! That was the only reason! I'm not really a dish person and I didn't have a plan for it at the time but I loved the shape, the weight, and the pretty yellow floral design!
This post contains some affiliate links for your convenience (which means if you make a purchase after clicking a link I will earn a small commission which helps keep my blog up and running but it won't cost you a penny more)! Click here to read my full disclosure policy.
Once I got it home I thought it would make a pretty succulent planter.
I didn't want to ruin the bowl though with real plants or glue so I used faux succulents and no glue so I can take it apart if I want without ruining the bowl.
I pick up succulents whenever I see them for a reasonable price because they tend to be kind of spendy. I found some recently at the dollar store though!
I chose white styrofoam for this project instead of the standard green floral foam so it won't show through in the end.
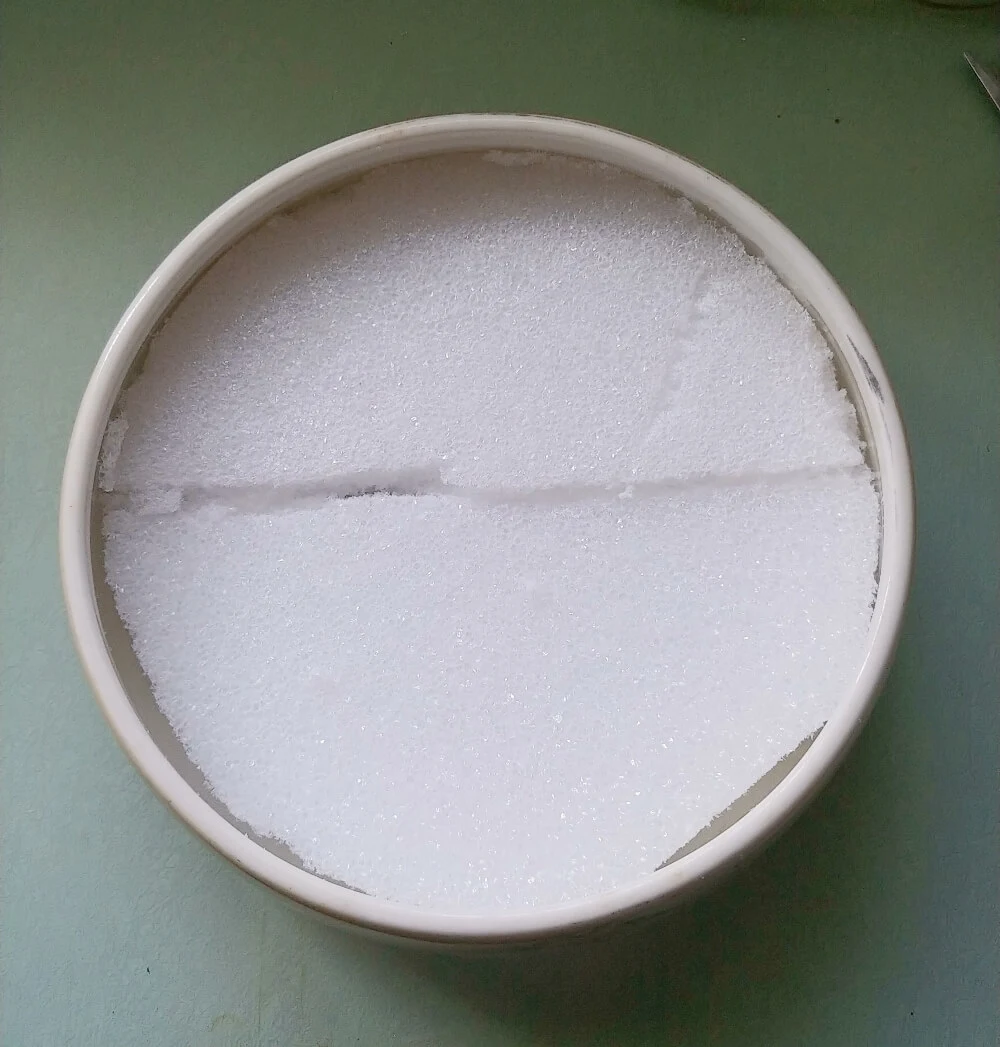
Turn the bowl upside down and trace around it on the foam. Use scissors or a serrated knife to cut out the shape.
The sides of my bowl are slanted a little and my piece of foam wouldn't easily go in so I cut it in half to make it fit.
Once you get the foam into your bowl, start poking the stems into the foam.
Succulents tend to grow in clumps so squeeze them close together in your bowl.
I had a little styrofoam rock covered in moss. I cut a little bit off of one side so that it would sit nicely in the bowl.
Once you get your succulents in place, all that's left is to cover the white foam with the white rocks. See why I used white foam now? 😉
I really love how this project turned out!
Here is a sneak peek of tomorrow's project (Day Five!)
Vintage Dish Succulent Planter - 7 Days of Thrift Shop Flips - Day Four
I picked up this dish a month or so ago because I thought it was so pretty! That was the only reason! I'm not really a dish person and I didn't have a plan for it at the time but I loved the shape, the weight, and the pretty yellow floral design!
This post contains some affiliate links for your convenience (which means if you make a purchase after clicking a link I will earn a small commission which helps keep my blog up and running but it won't cost you a penny more)! Click here to read my full disclosure policy.
Supplies Needed to Make Your Own
- Large, shallow dish
- Styrofoam (I chose white for this project)
- Faux Succulents
- White Planter Rocks
- Scissors or Serrated Knife
Once I got it home I thought it would make a pretty succulent planter.
I didn't want to ruin the bowl though with real plants or glue so I used faux succulents and no glue so I can take it apart if I want without ruining the bowl.
I pick up succulents whenever I see them for a reasonable price because they tend to be kind of spendy. I found some recently at the dollar store though!
I chose white styrofoam for this project instead of the standard green floral foam so it won't show through in the end.
Turn the bowl upside down and trace around it on the foam. Use scissors or a serrated knife to cut out the shape.
The sides of my bowl are slanted a little and my piece of foam wouldn't easily go in so I cut it in half to make it fit.
Once you get the foam into your bowl, start poking the stems into the foam.
Succulents tend to grow in clumps so squeeze them close together in your bowl.
I had a little styrofoam rock covered in moss. I cut a little bit off of one side so that it would sit nicely in the bowl.
Once you get your succulents in place, all that's left is to cover the white foam with the white rocks. See why I used white foam now? 😉
I really love how this project turned out!
PIN ME!
Here is a sneak peek of tomorrow's project (Day Five!)
Posted by: Tania | Little Vintage Cottage
at 20 August
Tag:
DIY & Crafts


